

I had a similar problem recently, and then a request came through from a close friend (Chris Mainey) for the same purpose. I thought “I’ll write a blog post on this”. So, what are the benefits of creating virtual environments.”
First of all. what are virtual environments:
A virtual environment is a Python environment such that the Python interpreter, libraries and scripts installed into it are isolated from those installed in other virtual environments, and (by default) any libraries installed in a “system” Python, i.e., one which is installed as part of your operating system
Python Website Definition
Okay, so what are the benefits?
- You can use any version of python you want for a specific environment without having to worry about collisions
- You can organize your packages much better, and know exactly the packages you need to run your code, in case someone else needs to run it on their machine
- Your main python package directory does not get FLOODED with unnecessary python packages
The only downside might be space on your machine, as potentially you could be doubling up with installs.
If this sounds like something you would like to do in your projects, then let’s get going, as the following sections and sub-sections will take you through:
- Installing a virtual environment via Windows Command Prompt, would work the same way in Windows Powershell
- Getting VS code to recognise the new virtual environment
- Installing packages into the new virtual environment
Getting familiar with Windows Command Prompt
- Navigate to Windows Command Prompt:
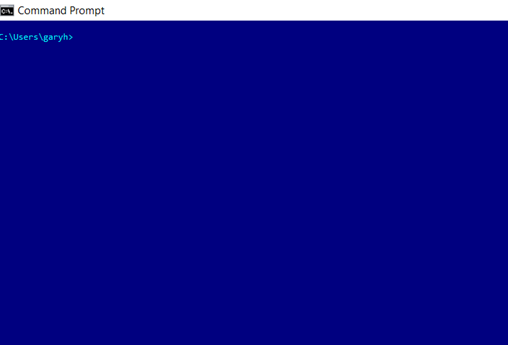
This is the first stage. Now we need to navigate to the folder we are going to be working with for our Python project.
Changing directory to our Python project folder
- To change directory to the project folder, in command prompt, we will use the cd command. This changes directory (cd) and will allow you to specify which directory you need to change it to:

2. I got here by using change directory to my documents folder, analysed the contents of the directory using dir and then used change directory again to set the path equal to the PythonVirtual Environment folder (this was created in my Documents folder). This could have been done in one step by using: cd C:\Users\[yourusername]\Documents\PythonVirtualEnvironment:
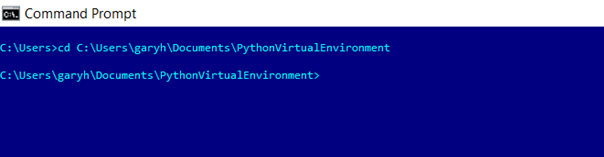
Now I am in the right place to be to run the virtual environment creation commands.
Installing the new Python virtual environment
- The next step is to use the following command python -m venv env to setup the virtual environment:
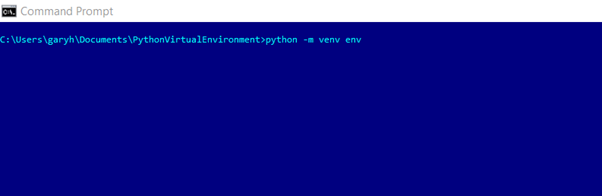
2. To deconstruct what this is doing:
- Python tells command prompt to use the local installation of Python
- The venv is the command to python to make a virtual environment – this is static and does not change
- The env is the name of the subdirectory that will be created inside to hold the virtual environment
3. Once I hit return we will see that the virtual environment has now been created. I will inspect this by using the dir command:
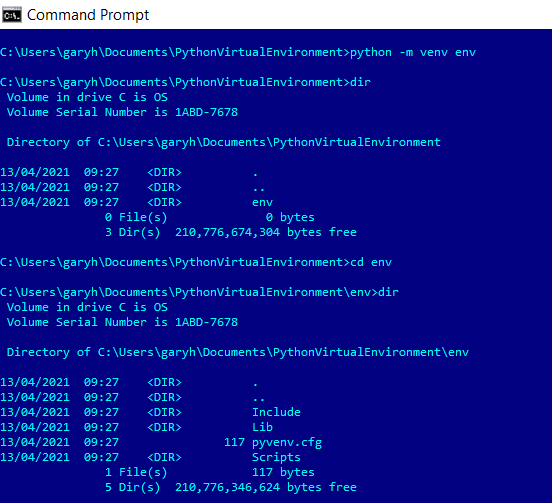
4. Inspecting this in the folder structure, we can see that the Python structure has now been created for us:
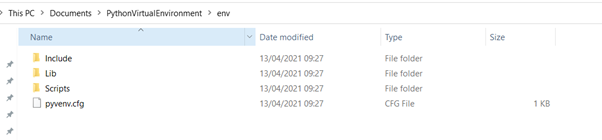
Violla! We have our new virtual environment ready to go. The next step is to make VS code recognise it.
Getting VS code to recognise the new virtual environment
- Go to the root directory, right click and choose Open with VS Code:
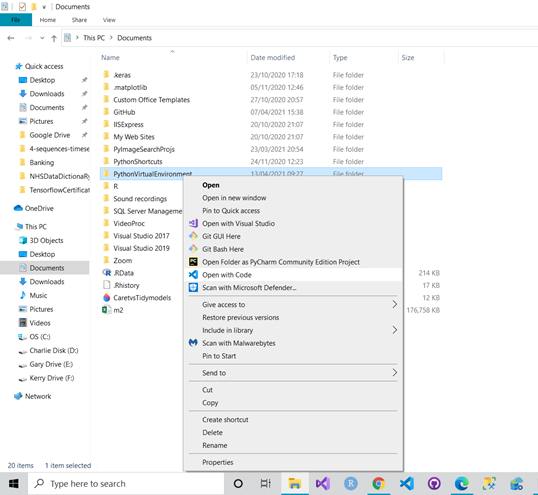
2. Click to open with VS Code. This will launch VS Code. When it has loaded we need to create a new directory for the name of the project:
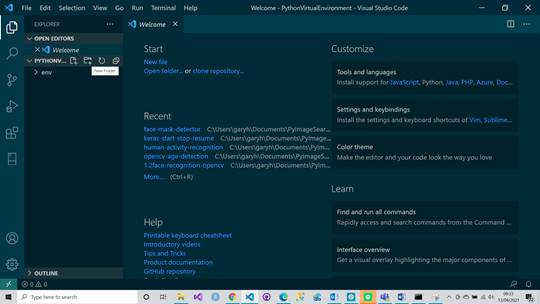
3. I will click on the new folder icon and name the project whatever I want:

Once a Python files is detected, the new virtual environment is normally detected, assuming that it doesn’t, I will show you the manual setup process.
Setting the VS Code interpreter to work with the new virtual environment
To do this you will need to follow the relevant steps below:
- Click on the interpreter selected at the bottom left of VS Code:
2. Click on the current Python version
3. This will launch the Select the Interpreter window:
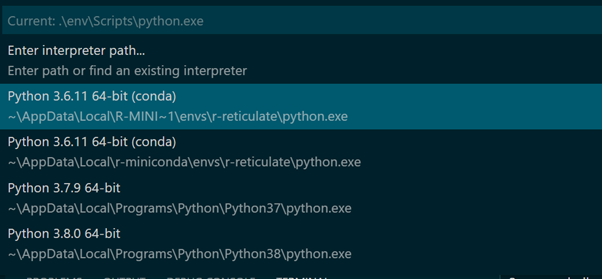
4. Click to Enter the interpreter path:

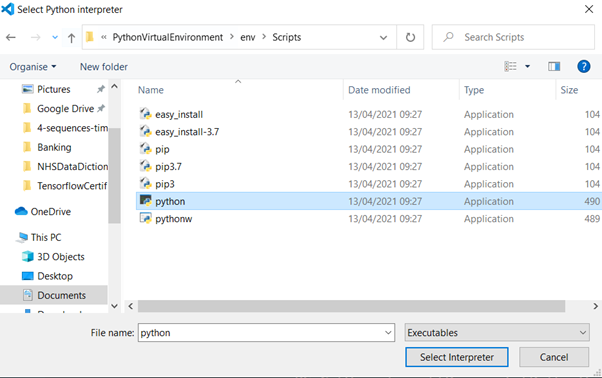
- Click Find…
- This will launch a dialog box. We are going to navigate to the env folder we have just created and select the Python.exe:
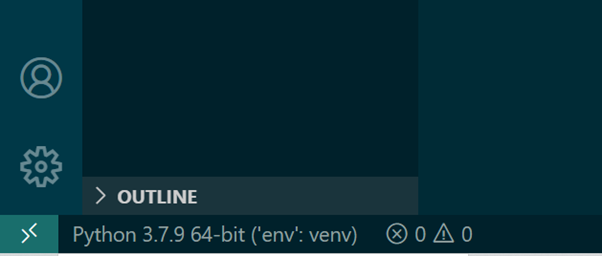
7. Choose select interpreter button. You should now see the new environment that we have created being activated:
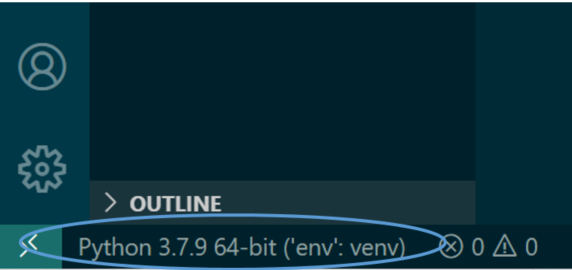
8. Our new virtual environment has now been picked up by VS Code and is ready to use.
Installing packages into the new virtual environment
To install a specific version, type the package name followed by the required version: >>pip install ‘PackageName==1.4’. This tutorial will focus on the most recent package install process, but this can be used to set specific references. The process is as follows:
- The virtual environment will reference roaming installs of the Python packages, but to install any local ones I will navigate to my Scripts folder in the PowerShell terminal in VS code by using:

Note: here I used ../ in PowerShell / Command Prompt – this is a way of saying go back one directory step.
2. I will use pip install to install the required package:

3. I have chosen to pip install Flask-SocketIO from the Python packages list. Hitting return you will see the package installing:
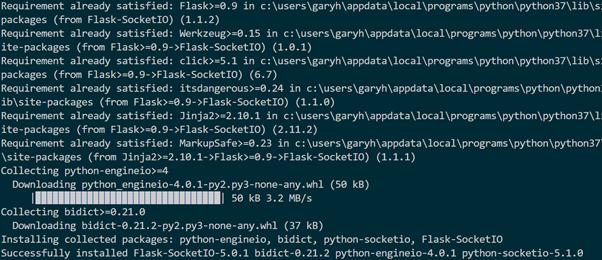
4. This has now installed a new package into my virtual environment.
The process is now complete and you can create code files in your new project folder to your hearts content.
Final thoughts
I think virtual environments are way cool. They can streamline your code and are great for development, deployment and testing. By isolating the modules into separate folders, you have complete control of the package infrastructure for your projects.