
I previously did a blog post on the power of ControlNet and the various options you have at play when working with controlnet models.
To reference the previous introduction to what are controlnets, please refer to my previous post on this: https://hutsons-hacks.info/using-controlnet-models-to-remodel-my-living-room.
What is HED detection?
Holistically-nested edge detection (HED) is a deep learning model that uses fully convolutional neural networks and deeply-supervised nets to do image-to-image prediction. HED develops rich hierarchical representations automatically (directed by deep supervision on side replies) that are critical for resolving ambiguity in edge and object boundary detection.
The resultant output looks similar to this:
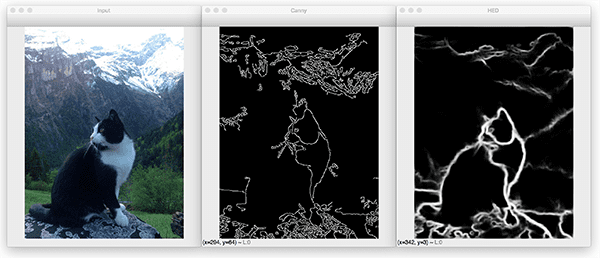
This improves on Canny edge detection by being able to pick up many more features in the back and foreground of the image. For full details of how to fine tune one of these models, check out Adrian Rosebrock’s PyImageSearch blog: https://pyimagesearch.com/2019/03/04/holistically-nested-edge-detection-with-opencv-and-deep-learning/.
In this tutorial we will look at how to load pre-trained HED detectors from the HuggingFace library, and use this pretrained model, alongside the Stable Diffusion model, and a controlnet for this specific task. Let’s get going and take the tutorial through building a class to perform this modelling, to loading in an image and then fine tuning based on our image and prompt pair.
Building our class
We will follow steps to build our class which will incorporate the use of HED detection with our control nets to produce a way to alter an image, based on the image’s boundary (edge) with a generation from a stable diffusion pretrained model.
Importing the required packages
Firstly, as with all projects, we need to import the relevant packages we are going to need for this project:
I coded this in Python 3.9 and works with the most recent versions of diffusers and the transformers package.
Creating our class __init()__ block
The first step of our class building will be to define our init, or constructor, block of code. This will initialise every time a new instance of the class is created. We will step through each line so you know what the model is doing:
Let’s break this down:
- We call our class
ScribbleControlNetand then we define our__init__()statement to take in parametersimage_path(the path to where the image is stored i.e. the source image to use);hed_detectorthis is the pretrained HED detector model (we will use the controlnet implementation of this);pt_controlnet(here we use a stable diffusion scribble model pretrained) andpt_stablediffusion(this is the stable diffusion model to use) - We set instance variables for the block so they can be referenced by our class methods later on in the code. We set
self.image_path,self.hedandself.controlnet - For the HED detector, ControlNetModel and Stable Diffusion models we use the
from_pretrainedmethod to use our transformers package to serialise these models from pretrained. Importantly here, we also adapt our PyTorch tensors to have a different decimal precision, this allows the computation of the various weights in the tensors to be sped up, but we loose a little precision from this - We then load a random noise scheduler for the diffusion process, enable
xformersfor efficient attention mechanisms to be built in the transformer architecture and finally we allow model offloading onto the cpu withenable_model_cpu_offload(). These steps help speed up the computation of the model. - Next, we use an
assertstatement to check that the image path that is passed into the class, upon instantiation (creating a new instance of the class), is of astr(string)data type. If this passes, then the image is then opened usingImage.open()from the PIL (Pillow) image manipulation library. - The next step once the image is loaded is to use the pretrained hed model to load in our image for edge and boundary detection. Here, it will be using my LinkedIn profile to do some wacky antics with later on.
This completes the initialisation of the class phase, the next step is to build our class method. This will be responsible for actually producing a prompt/image pair for generating new wacky images from my profile photo.
Building the generate_scribble class method
This step has less steps than our init block, as we have already done most of the heavy lifting, upon initialisation. Let’s dive into it:
These steps:
- Set the instance variables of
self.prompt,self.save_pathandself.num_stepsto the linked passed parameters into the parameter block of the code e.g.def generate_scribble(self, prompt, save_path=None, num_inf_steps=20): - We then use the
pipeinstance variable we declared in the__init__block to fine tune our model based on the prompt and image pairing. To get a more realistic photo, increase the inference steps for better quality outputs, however there is a performance cost to doing this, as it will be generally slower and require more memory (both GPU and CPU). We select the first generation and return that by using slicingimages[0]. - The last steps are to check if there is something passed into the
save_pathparameter, as this default toNoneand if there is then it will save the generation to a path you desire. Finally, we return the image to be used downstream. - One additional thing we do, is use a dunder method, to overload the
print()command, so when we print this we will get a custom print statement saying “Image loaded from {whatever image path you pass to the function}”
That’s it, we can now have some fun with our newly defined class. That will be coming up next. The full definition of our class it contained here:
Using our class for image generation
The first step to this process will be loading in our source image. We will use this image as source, but you could use absolutely anything:
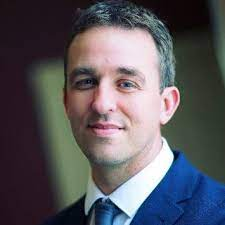
Our source image
This is the only professional looking photo of me from my LinkedIn profile (give me a follow).
Creating an instance of our ScribbleControlNet class
Next, we will create an instance of our class and start to create a doodle with it:
When we instantiate this class you will see the background pretrained models download (this will happen the first time you run this, and never again, unless you delete them from the HuggingFace temp directory).
Creating a prompt
Now, we need to create a variable called prompt:
This will be the prompt we use to try and turn my profile photo into a picture of a monster.
Using our generate_scribble method
Now we have our class instance created, we can run our generate_scribble method and pass in the relevant inputs in the parameters:
Once you have run this, you will then have an image saved into the relevant images directory with the name of your prompt as the file name, and will be postfixed with a PNG image format.
Let’s see how prompt=monster did:
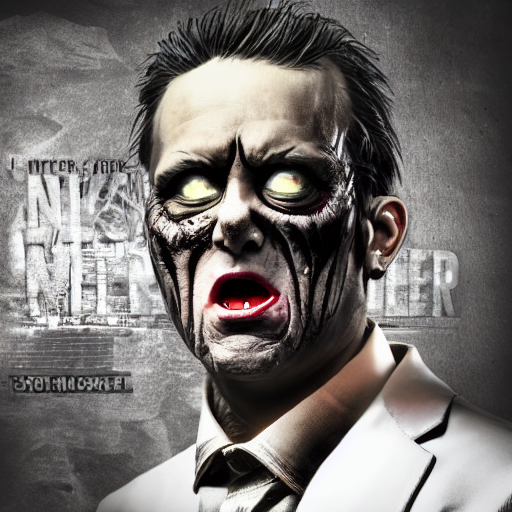
Wow, not bad, I am a little scared, but if you notice it has retrained the lines of my suit and collar. Let’s delve into a few more examples, for fun.
Having fun with the prompts
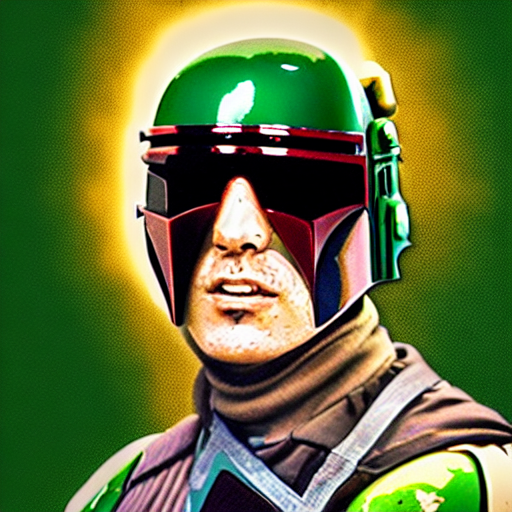
I tested prompt=boba fett and this is what I got:
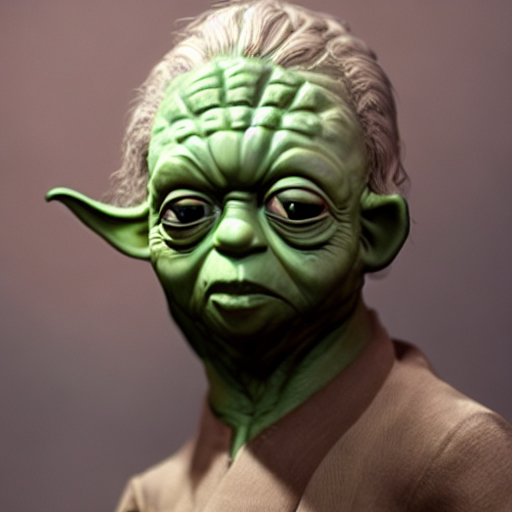
Let’s try prompt=yoda:
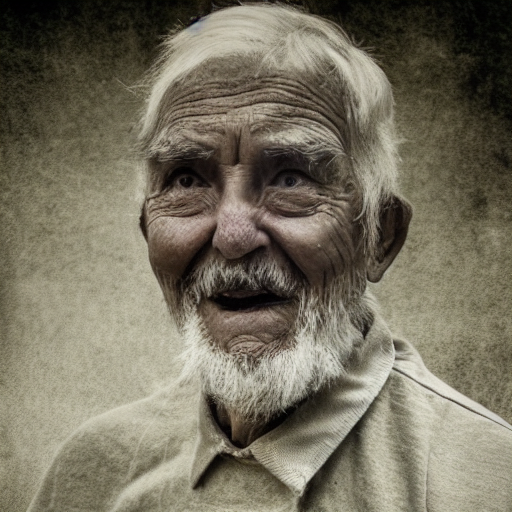
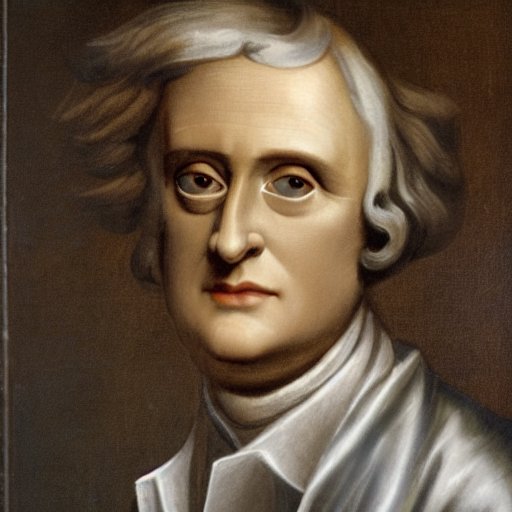
Let’s see what the prompt does if I do something like prompt=old man:
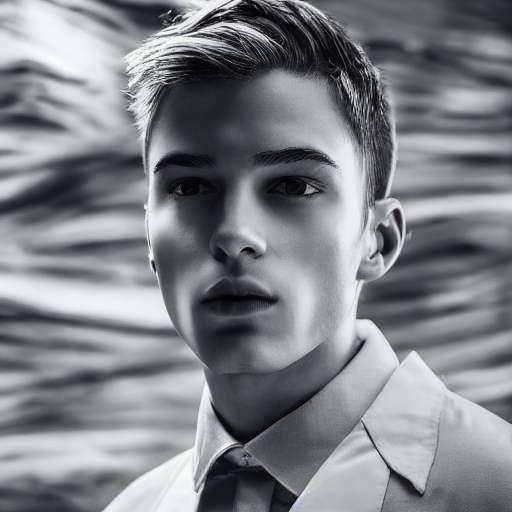
Or, take me back in time and see what I would look like as a model:
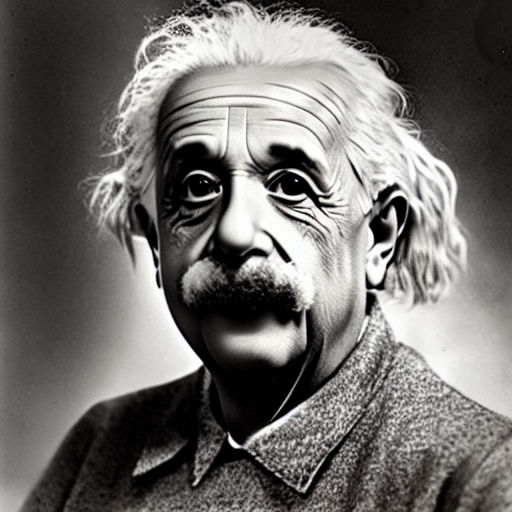
How about some famous scientists?
Finally, what if I were a super hero:
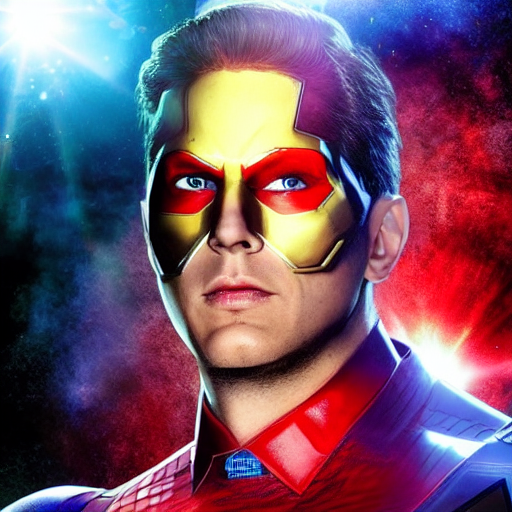
I could be here all day doing this, so I will leave you to experiment.
Closing thoughts
Image generation has come along way since the days of the first Generative Adversarial Networks (Goodfellow et al.) and it is still being developed at ground breaking deep. It truly is the era for generative AI in image and text (OpenAI GPT3.5 and 4) and what a time to be alive, as someone who loves creating models of all shapes and sizes.
The code for this tutorial can be found here: ControlNet Playground.