

I had the perfect environment for my setup and I want to potentially create another environment and add some additional packages, or I want to roll this environment out for training purposes. This is where the YAML file comes in and it is sweet.
Head to Anaconda Navigator
I load up my Anaconda Navigator and select the environment I want to replicate in terms of package setup:
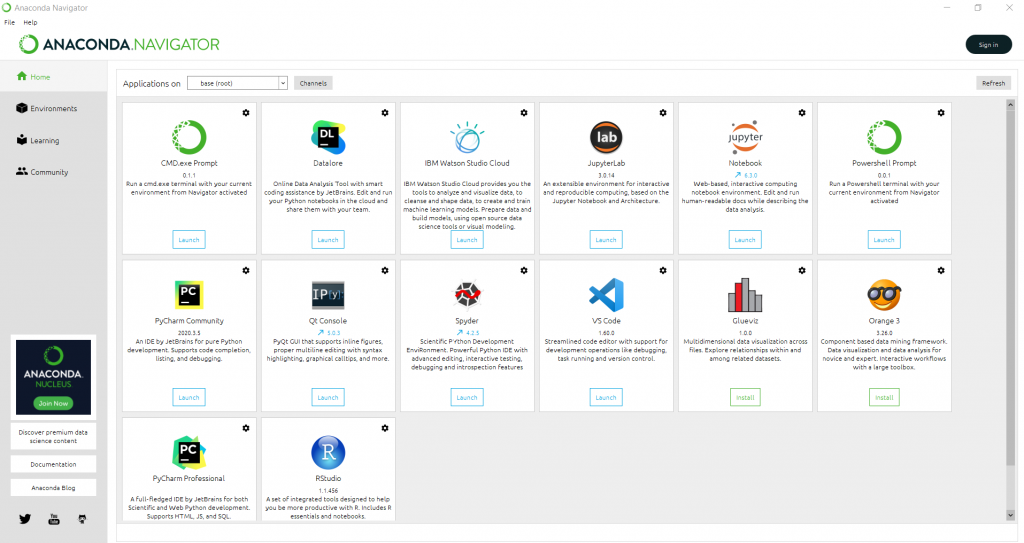
I change my Applications on: drop down to my environment:

Now I simply need to go to the Command Prompt that is on this environment and hit Launch.
This brings up the Anaconda Prompt:
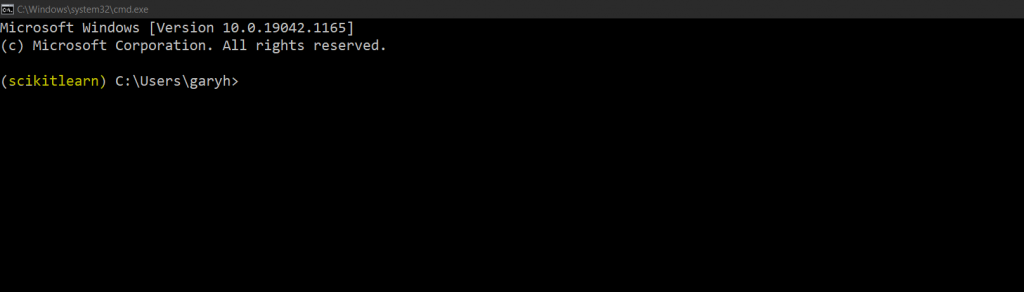
Make sure the environment is selected, this will be shown in parentheses.
Listing packages in my environment
The next step is to list all the packages in my environment. This is simply done below:
conda list
This prints out all the packages I need. But I want to directly create this in a directory on my PC.
Outputting listed files to YAML file
Instead of just listing the packages I am going to create them in a YAML file. This can be achieved by the below command:
conda env export > scikitlearnenv.yml
In the Command Prompt:

This then outputs all YAML files to the location specified to the left. I was working in C:\Users\garyh\Documents so the output YAML file will be there. Checking with file explorer confirms this:

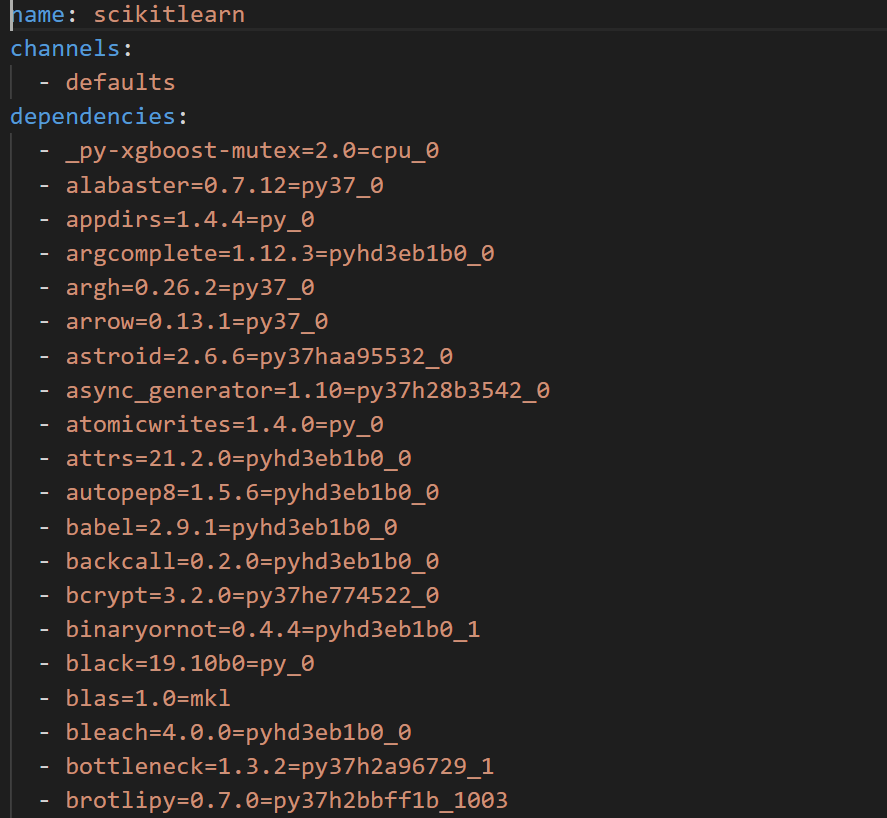
Inside the YAML file, you will see all the packages I have used in my environment and it is a perfect way to deploy tutorials to make sure students are using the same packages as the trainer.
The YAML file can be found here and it looks like this:
Using YAML file to replicate environment
I am going to rename the name attribute in the YAML file to create a similar environment, but with more of a machine learning focus, as I will install additional packages. I will set the name to scikitlearnml. I will also change the prefix at the bottom of the YAML file and hit save:

Creating a replica of your environment using a YAML file
The first step is to launch Anaconda prompt again, this time it does not matter what environment is listed, perhaps switch back to the root:
In the root I will launch the Anaconda Prompt:
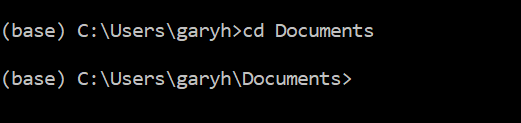
Here I will change directory cd in Windows to the correct location:
Using the dir command I can list the structure of the directory:
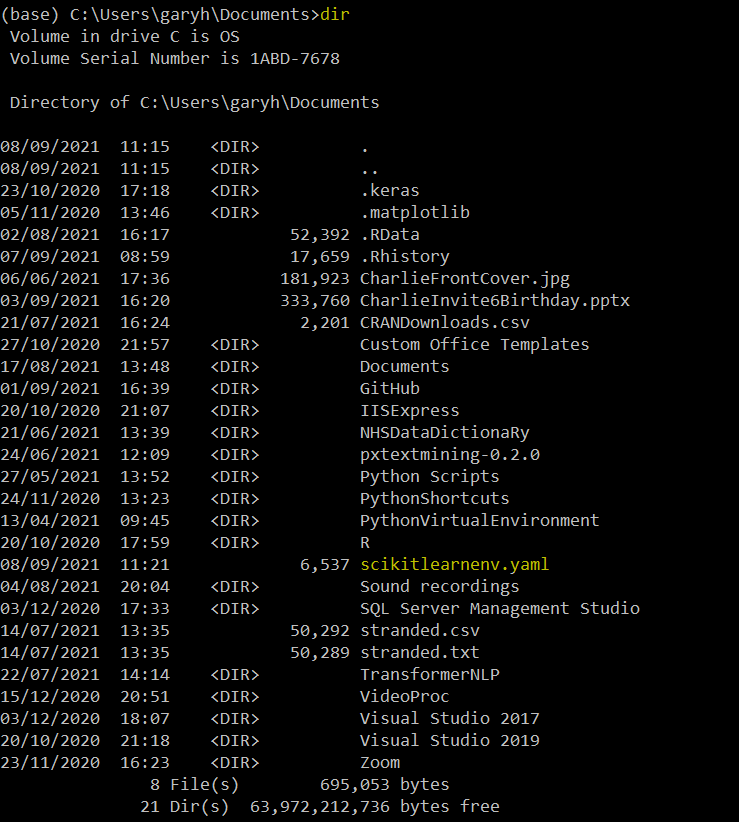
I can see that my environment YAML file is there and now I will use it to create the new / replica environment. This can be achieved hereunder:
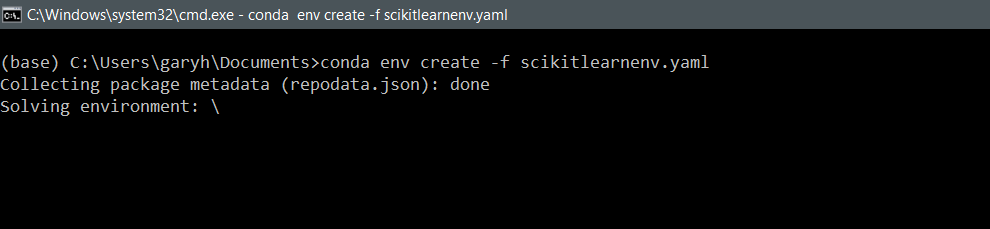
conda env create -f scikitlearnenv.yaml
This is the same command in prompt:

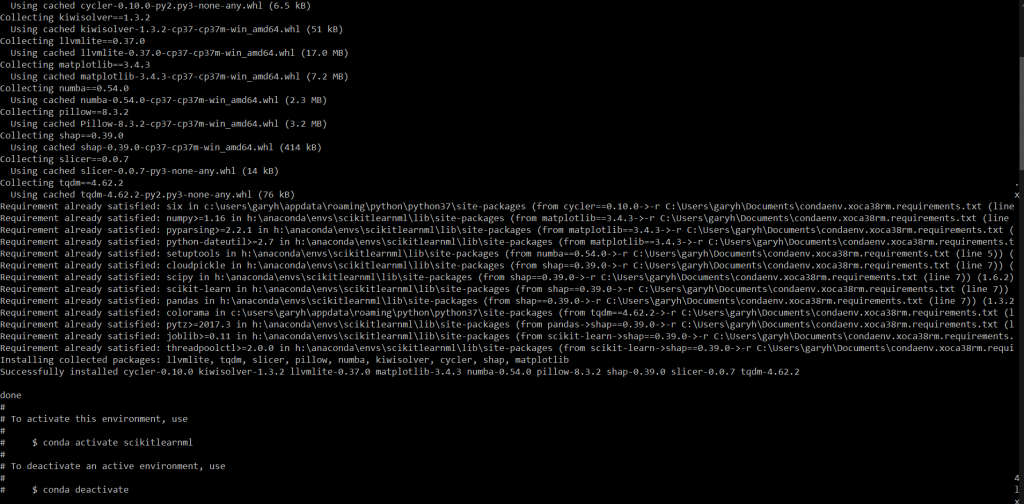
Once hitting the return key the environment will start to be created:
Packages will then start to install:
Activating environment
To activate the environment we then use the following:

This environment is now ready to be used. I can now adapt the environment by installing other packages in the prompt, via the navigator or other methods.
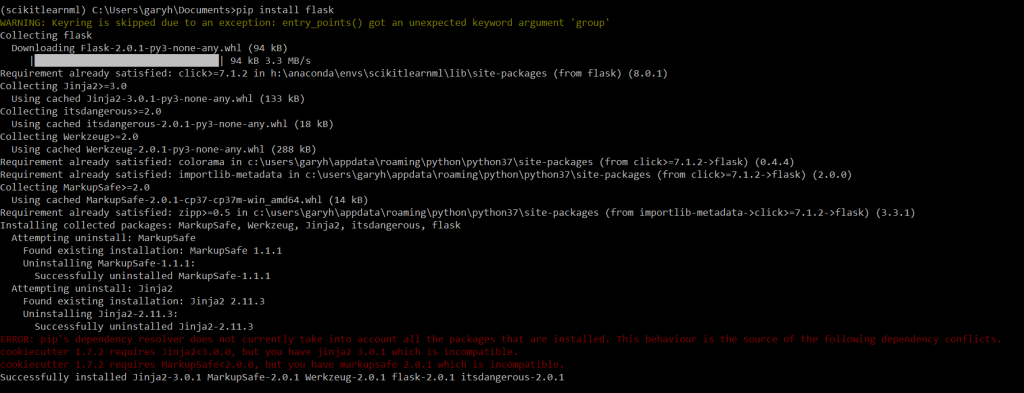
Install additional packages
I will now install additional packages to be used in the environment:
This environment has a different structure now than the original environment we cloned and renamed. If I browse in anaconda navigator, or VS Code, this new environment will be available to use:

And that is how it is done.
To close…
This was a quick run through of how to create environments. The source YAML file can be found here.
I am sure you will agree that this will get you up and running in no time.